Remember the post about Guerilla gardening that I wrote about here? I've made my own seed bombs in the meantime and I am very happy with the results. I've found though that recycled egg-boxes worked best for these.
To make the seed bombs, I just ripped the boxes in small pieces and poured boiling water over. It soaked overnight and the following day I ripped the soaked paper into smaller shreds and squeezed out most of the water. The seeds mixed with a good two handfuls of potting soil was mixed with the paper pulp - I guess you can purée the soaked boxes in a blender too. I had no fixed recipe to work with, so I just followed my instinct here.
After it had dried completely, I handed them out to friends (of course....hehehe) and "bombed" my own garden with the rest. To my surprise, it didn't take very long for the seeds to start sprouting...
We are just into the "last" month of winter here in the Southern Hemisphere and the soil is still very wet, but I'm looking forward to a few delightful surprises in spring when these little guys blossom in their full glory.
Links to sites for bomb recipes:
Guerilla Gardening
Crafterholic
Happy bombing!!
Showing posts with label tutorials. Show all posts
Monday, 20 August 2012
Seed bombs
Wednesday, 11 July 2012
Doilies - again!!
Oh, so lovely and too good not to share!!
Full blog post and tutorial to make one like this on A Beautiful Mess, here.
Friday, 6 July 2012
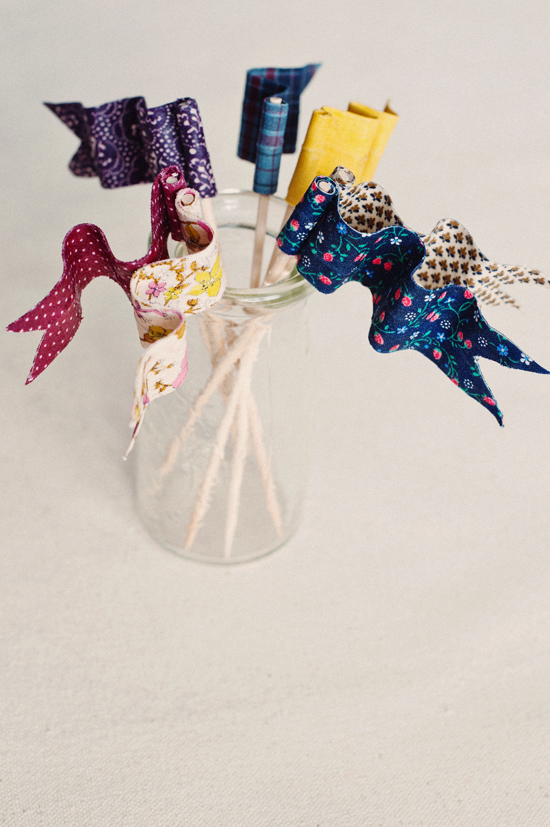
Bendy bunting cake toppers
Okay, this is just so cool, I have to try this one soon!! I saw it first on one of my favourites Heart Handmade UK but the original post is from Poppytalk, here. There are just so many uses for these little
guys, check it out....
Isn't it just too sweet? You can use any fabric scraps to create these, even your favourite paper, be it scrapbook paper or wallpaper; whatever!! For the full tutorial go to Poppytalk, here and for some more fabulous ideas, visit Heart Handmade UK,
Happy day!!
guys, check it out....
Isn't it just too sweet? You can use any fabric scraps to create these, even your favourite paper, be it scrapbook paper or wallpaper; whatever!! For the full tutorial go to Poppytalk, here and for some more fabulous ideas, visit Heart Handmade UK,
Happy day!!
Saturday, 30 June 2012
Band-saw Taxidermy
I would love to have a scroll-saw and play around with wood cut-outs, just for fun. Then, I saw this tutorial on instructables and decided it would be a fun project for me to try. A band-saw is easy enough to use and the lines are relatively straight with not too many curves to have to manipulate the wood at uncomfortable angles....
See the instructables website for full tutorial/instructions if you want to make one of your own. I hope you have a LOT fun with this project, I know I will....
Happy day!!
Labels:
Crafts,
Decor,
decoration,
house and home,
ideas,
tutorials,
wood
Tuesday, 19 June 2012
Crafty up-cycle
When I saw this, I knew I had to share. This is one of the coolest up-cycled projects I have seen in a while - thanks to 365 things you can practice crafts.
Visit the site here to get the "know how" and for more crafty ideas.
Happy day!!
Thursday, 26 April 2012
Fun project for a rainy day
Our day was typically like the song Bohemian Rhapsody by Queen:"thunderbolt and lightning - very, very frighting me...." So, while it was pouring rain outside, my son (the cheetah) and I had a bit of fun making these juggling/stress balls. It's really easy and here's how:- dried lentils for the filling (fine sand will work well too)
- sharp scissors
- balloons (round ones)
- a funnel

First blow up a balloon to stretch it a bit, then using the funnel, fill it with some dried lentils - how much depends on the size you want the ball to be eventually but I would say about a quarter of a cup should be more than plenty

Now, take a second balloon (you'll see this one's colour in the final ball) and snip off the neck close to the main body of the balloon, like this
Go back to the first balloon, tuck in the long neck, and insert this ball into the second balloon, with the folded neck inside the second balloon
It should then look like this:
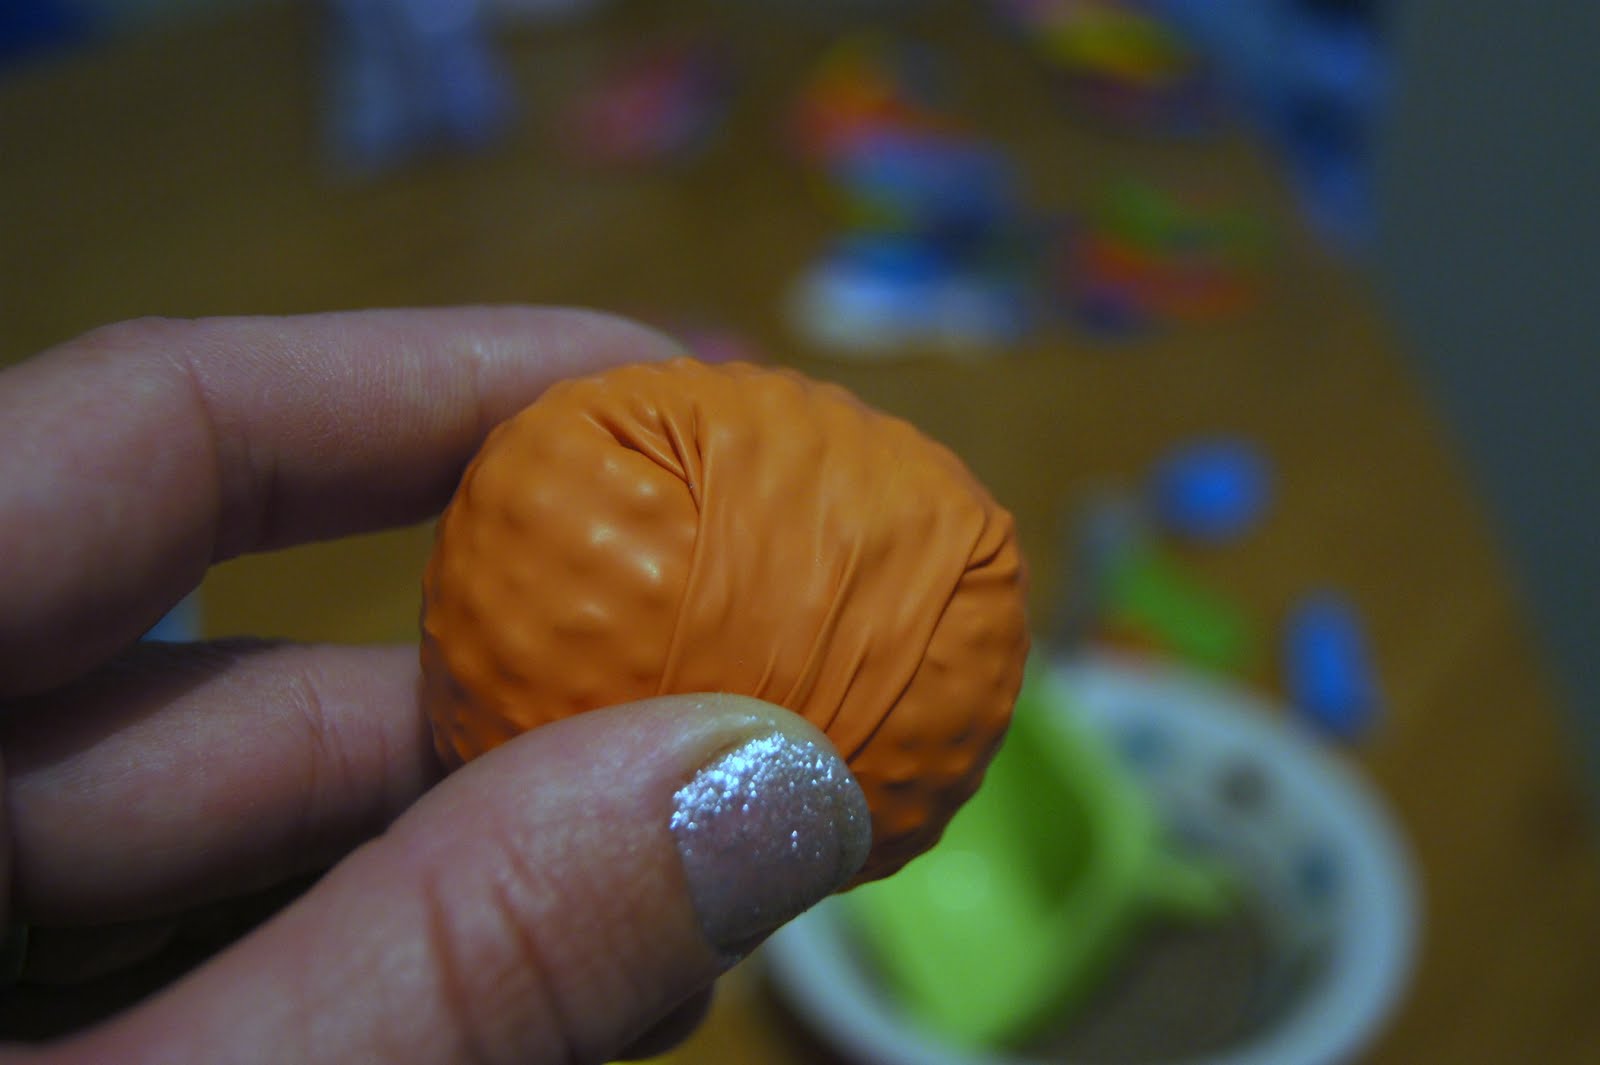
A third and last balloon: snip off the neck a bit more than the previous one, and wrap this one around the ball

Once you've wrapped the ball in the final balloon, it should look like this. Remember that the open seams will always be on the inside, until you have you final two-tone ball like this one.
We ended up making quite a few, but we will spend some time to make more with friends over the coming (long) weekend we're having.
Sunday, 18 March 2012
Home made yogurt
I did a yoghurt making course the other day and enjoyed it so much, I couldn't wait to get home to try what I've learned. There is something immensely satisfying about making something from scratch, like vanilla custard or in this case, yoghurt. The science behind the whole process is fascinating. A bit of milk heated up to the correct temperature, the smallest amount imaginable of the culture, 8 hours at 40 - 45 degrees and.... voilà!

The Captain bought a yaourtiere which makes it so much easier.
Similar ones can be found on this website.

The Captain and I like our yoghurt quite firm and plain, like this..

Our son, the Cheetah, likes a bit of sweetness with his yoghurt, so I made a grenadilla sauce which is his favourite.
Here are a few links to websites with recipes for home made yoghurt:
http://www.makeyourownyogurt.com/
http://www.homemade-baby-food-recipes.com/homemade-yogurt.html
http://www.happysimpleliving.com
http://homecooking.about.com
Enjoy!!
The Captain bought a yaourtiere which makes it so much easier.
Similar ones can be found on this website.
The Captain and I like our yoghurt quite firm and plain, like this..
Our son, the Cheetah, likes a bit of sweetness with his yoghurt, so I made a grenadilla sauce which is his favourite.
Here are a few links to websites with recipes for home made yoghurt:
http://www.makeyourownyogurt.com/
http://www.homemade-baby-food-recipes.com/homemade-yogurt.html
http://www.happysimpleliving.com
http://homecooking.about.com
Enjoy!!
Friday, 2 March 2012
DIY tape tutorial
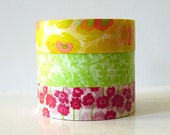
I just LOVE Japanese Washi tape, don't you? Ones like these are for sale everywhere on the internet. Buying them on-line isn't terribly expensive and there is a huge variety to choose from. You are sure to find loads that are to your liking; but how about making some of your own?
I discovered a few tutorials on-line on how to make them, like this one here
Tutorial of this one on this blog
Another tutorial here
I have a weakness for beautiful paper and am always buying without knowing exactly what to do with it. Well, now I can get crafting and even use those beautiful pages out of magazines that I've been hoarding for so long! As soon as I have some made, I'll show you.
Happy day!
Subscribe to:
Posts (Atom)